
Clearflow Antifog Adapter
Installation by Frame Model
Select your frame model below for a step-by-step installation video.
BFly Routing Kit
Setup Guide
The Routing Kit is configurable, not prescriptive. Start by dry running your tubes to find natural kink and anchor points, then select the right connector or clip for each spot. This guide covers every piece in the kit and how to use it.
Before securing anything, run your tubes the way you want them. Find the natural kink points - anywhere the tube wants to bend sharply - and identify the surfaces you have available to anchor the run. Setup is iterative. There is no single correct path.
Once you know where your problem spots are, select connectors for direction changes and clips for the surfaces you're working with. The kit has enough variety to solve any headgear type.
Cut tube to length as you go. If you cut short, a straight coupler splices it back. If you need more length, add a coupler and a scrap of tubing. Nothing is wasted and every routing decision is reversible.
When removing connectors from tubing, twist and pull - don't yank straight out. A slow rotation while pulling protects the connector and keeps the barbs intact.
Connectors solve kinks at direction changes. Tubing fails at bends over roughly 60 degrees without support - connectors hold clean geometry at those points. Choose based on the space available and the sharpness of the turn.
Removal tip: always twist and pull when disconnecting a connector from tubing. Rotating while pulling protects the barbs and extends the life of every piece in the kit.
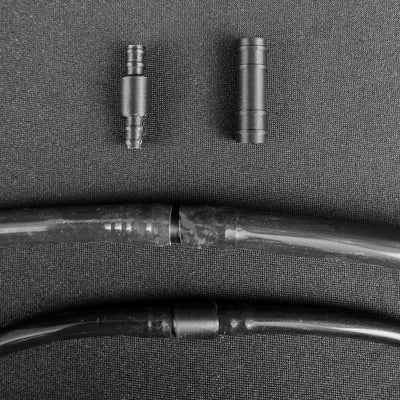
Straight Coupler
The safety net of the kit. Cut a tube too short? Splice it back together. Switching headgear setups and need more length? Add a coupler and a scrap of tubing. Every routing mistake is fixable and every scrap of tubing stays useful. Scissors and a coupler mean you are never stuck.
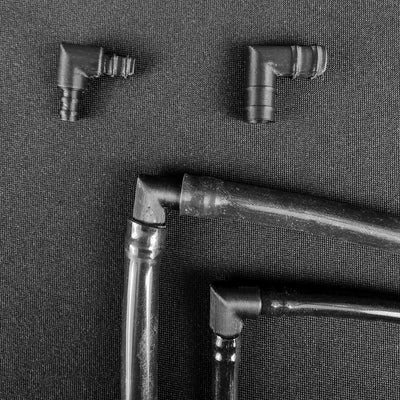
90° Elbow
Hard right-angle turn for tight spaces. Use where you need a sharp direction change in a confined area - the exit point from the antifog unit, or a tight temple transition. Press fit allows rotation so you can dial in the exact exit angle before the tube continues its run.
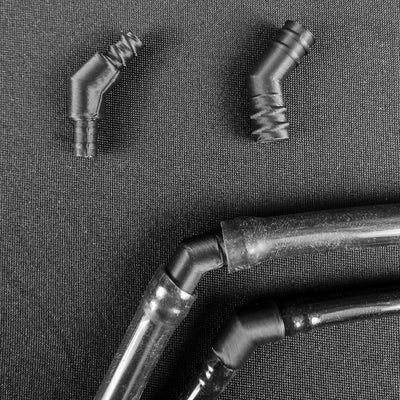
45° Elbow
Shallower angle for moderate direction changes. Same press-fit rotation as the 90° - use when you need a turn but have more room to work with than a hard 90 allows.
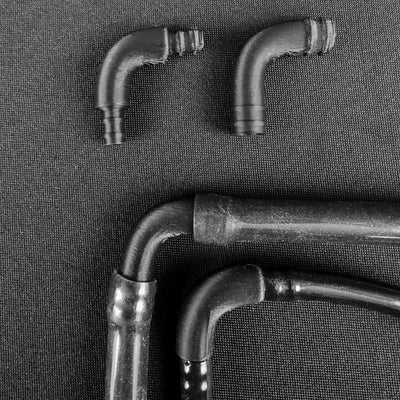
90° Bend
Gentle radius curve for open runs. Better airflow characteristics than a hard elbow and follows the natural curves of helmets and headgear more cleanly. Use on longer runs where you have space for a gradual turn.
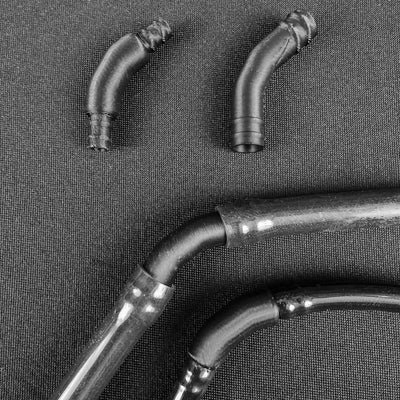
45° Bend
Shallow radius curve. Use for gradual direction changes on open runs - boonie crown arcs, helmet shell curves, or any run that needs a gentle redirect rather than a hard turn.
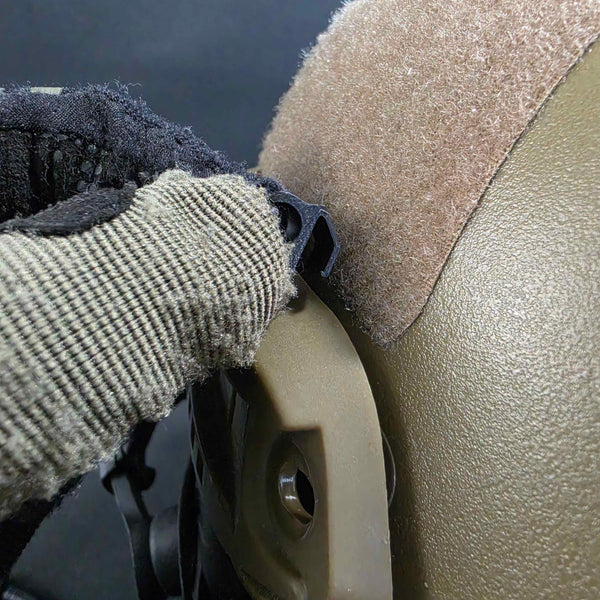
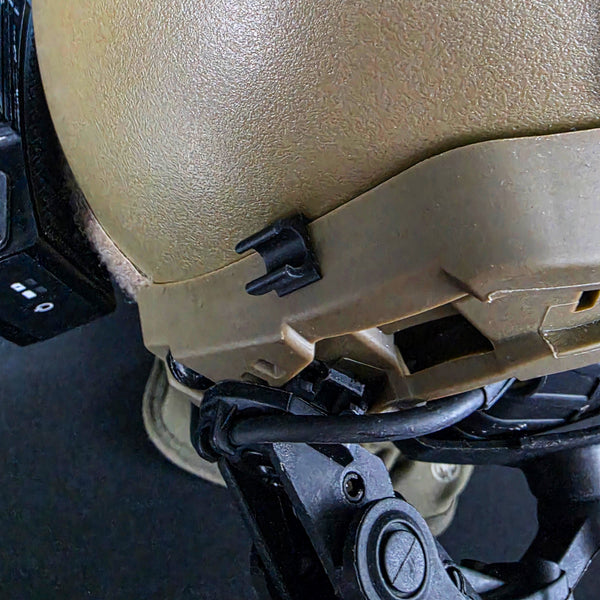
The rail tab is the most important clip in the kit for helmet users. It solves the zip tie problem entirely - not by using less rail space, but by using none at all.
Standard rail slots run along the sides of most tactical helmets. Zip ties thread through those slots to hold tubes, consuming mounting space you need for earpro, lights, and accessories. The rail tab doesn't touch the slots.
How to Install
- Loosen or remove the rail accessory screws on the side of your helmet - the rail tab needs to slide onto the shelf above the slots, so you need clearance to fit it in place.
- Locate the angled shelf that runs above the rail slots - this is the flat ledge that sits on top of the rail section.
- Slide the rail tab onto that shelf from one end. The tab sits flat on the angled surface above the slots.
- Screw your rail back down. The rail tab is secured in place - no additional fasteners needed.
- Seat your tube into the clip channel on the rail tab.
The result: tubes run cleanly across the top of the rail and every slot below stays completely free for earpro, lights, and accessories.
Every headgear surface has a clip designed for it. Match the clip to the surface and the tube stays where you put it.
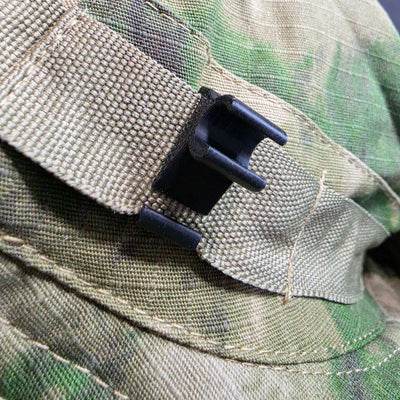
Webbing Clip
Hooks onto any webbing up to 2cm wide. Best for boonie hat crown bands, goggle straps, chin straps, and mask strapping. The hook provides strong vertical retention - the clip may slide laterally on very slick materials but holds firmly on fabric webbing.
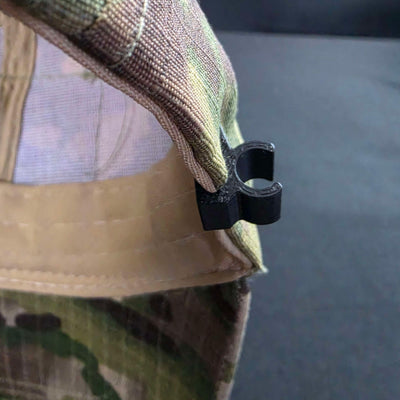
Edge Slide
Slides onto soft headwear edges - brim edges on boonies and caps, knit bands on beanies, thick multi-layer strapping, and thin helmet shell edges. This is your go-to clip for any soft headwear.
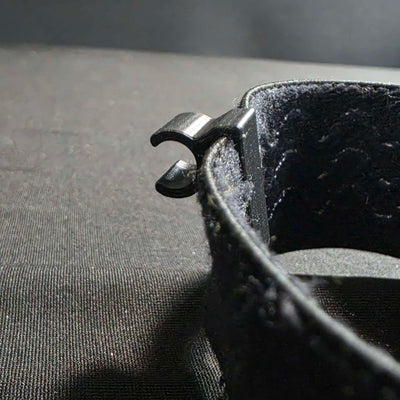
Strap Slide
Slides onto goggle straps, inside hat liners, thin elastic strapping, and some thicker webbing. Best on materials with slight give or texture. Ideal for goggle-mounted and balaclava setups where the thin strap or material edge is the only available anchor point.
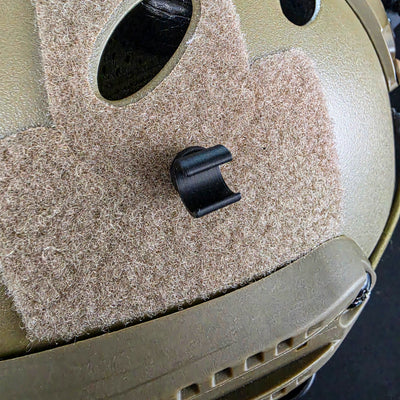
Velcro Mount
Attaches anywhere you can place a velcro dot - bare helmet shells, smooth helmet covers, fan unit housings, or any surface where nothing else reaches. The round base matches the included adhesive velcro dots. Also works anywhere hook-and-loop material is already present on your kit.
BFly N-Bore Manifold Set
Installation
Installation is straightforward. Slide the stock ExFog manifolds out of the unit and slide the N-Bore manifolds in. They seat the same way as the originals - no tools, no modification to the unit.
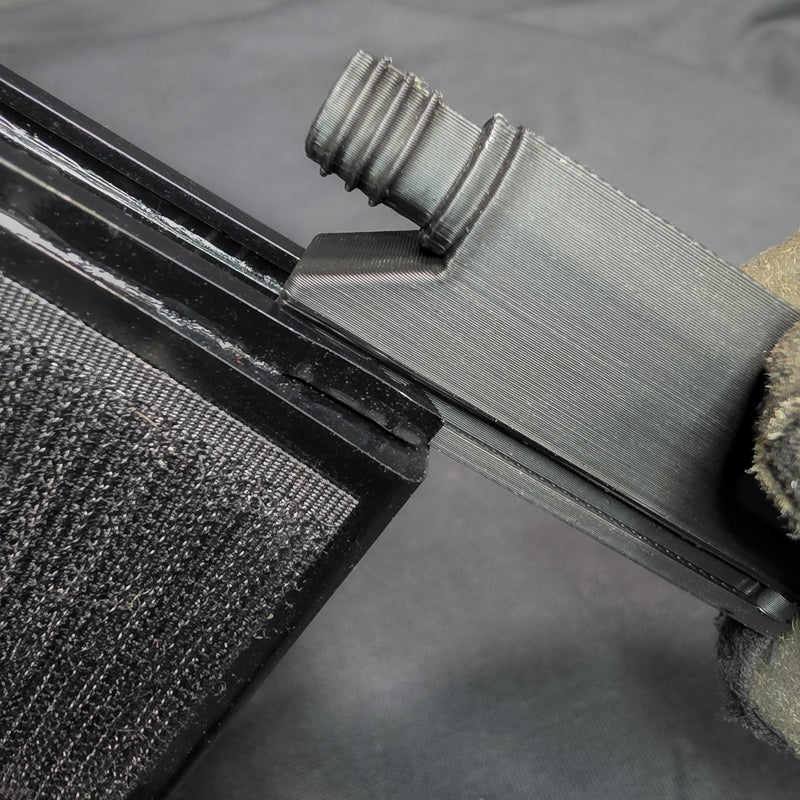
Important: N-Bore manifolds require wider diameter tubing. Stock ExFog tubing will not fit. If your kit included N-Bore Upgrade Tubing, you're already set. If you need more, it's available here.